How to make a Swift Package

What is a Swift Package?
Reusable components of Swift, Objective-C, Objective-C++, C, or C++ code that can be used in app projects.
These can be published and managed via Xcode
Generally distributed via GitHub
What's necessary to publish a swift package?
- Name for the package
ToastKit - Git
How to make a new package
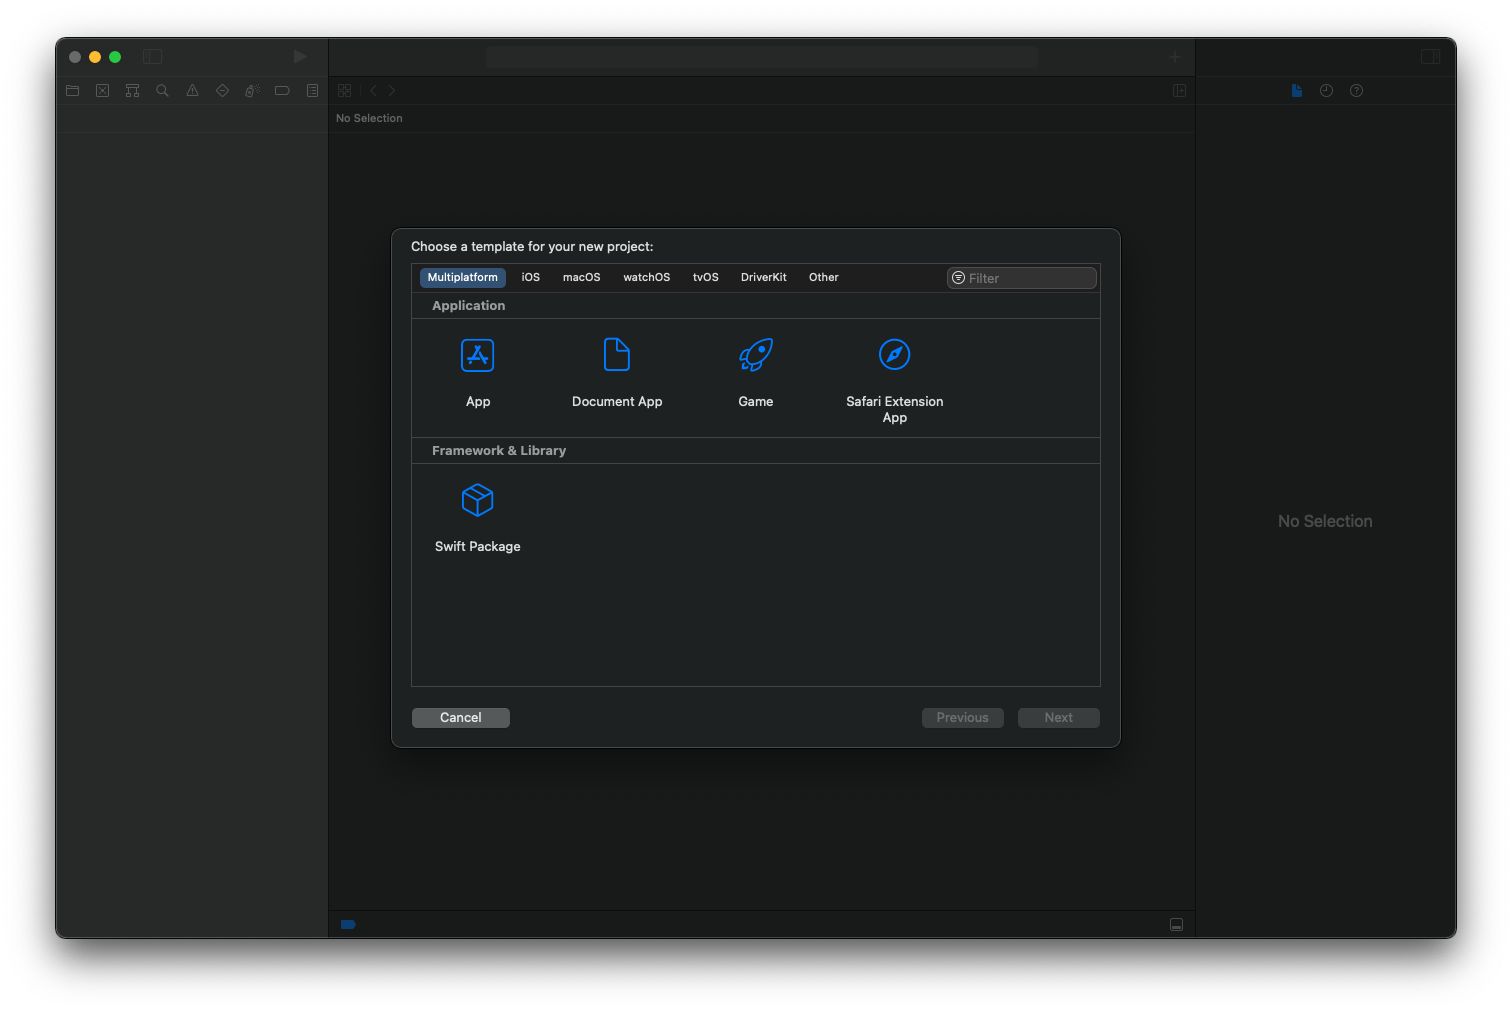
Create a new project and choose Swift Package
This is under Muliplatform

Make sure that you create a git repository on the mac. It just makes life a lot easier for distribution purposes. If you skipped this step, let me know in the comments if I should make a video about it
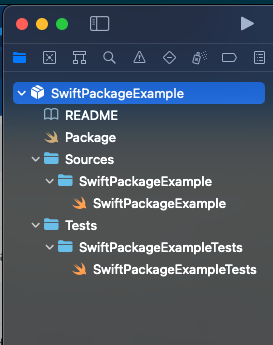
Important package call outs:

- Readme - this is a markdown file you can use to describe the package’s functionality. It might be useful to throw some GIFs or screenshots in here if your package is public
- Package.swift - aka the package manifest is used to describe the configuration of the package. This is where you can define the name, the libraries produced by a package, any other packages this package uses (aka dependencies), and if you need to target specific platforms you can put that here also. You can also set multiple targets here.
- Sources folder - this is where the code goes that you want your package to use. If you have multiple targets in then you need a folder for each target
- Tests folder - unit tests go here!
Now, let’s make something that’s reusable. This is a simple example, but first let’s add 2 functions. One for adding and one for subtracting.
- And commit these changes to git
Next, let’s get this on GitHub or your remote repo of choice since you always want source code under version control.
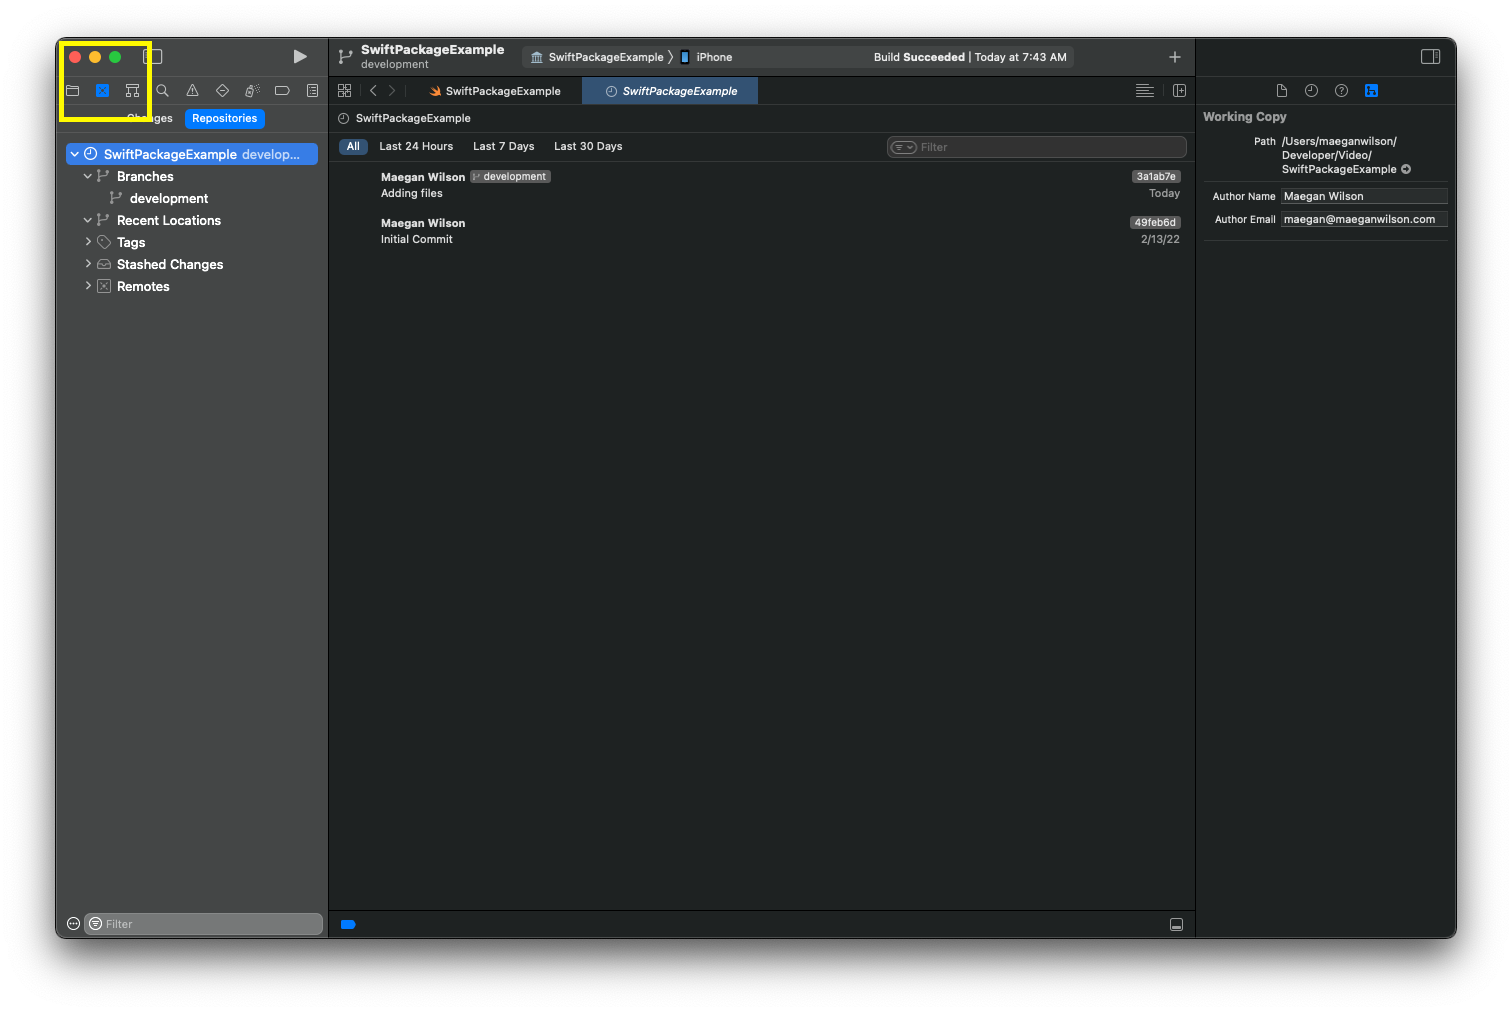
Go to the git source control in Xcode

Right click on the package and choose “New {packagename} Remote” and create a remote repo for it.
Add a tag for the version on the remote repo. I suggest doing this in the browser since your tags have to be explicitly pushed
And you’ve made a package that is hosted on GitHub (or whatever remote repo you used).
How to work on an app and work on the package
Now, developing a package in a silo isn’t that useful. Usually you’re making a package to add it into an app and want to work on both at the same time, so that’s what we are going to do next.
- Open the app you want to add the package to
- Add the remote package to your app using the GitHub repo link and make sure the version matches the tag you made in the last section of the video
- Open the finder and find the local Swift Package and drag it into the Project navigator in Xcode
- Now you can edit the package while working on your app.

